How to use AutoDMS?
In order to show you everything that AutoDMS can offer, let me take you through a short practice run of making a DMS.
If you have any questions or encounter any bug, feel free to contact me with LINE.
Step 1: Send a URL to the LINE bot.
Send one at a time.
Please remove any Chinese text before said URL.
Links sent will automatically be recognized as links for that day.
Do I need to send the URL to group chat like I use to?
Not exactly. If 2 people send the same URL on the same day, the LINE bot will recognize only one. But it doesn't check for duplicate links for the day before. I will implement it soon.

Step 2: Check extension dashboard
Use the category switcher to switch between categories. AutoDMS should have the formatted DMS content in one of the categories.

Step 3: Open Edit Dialog
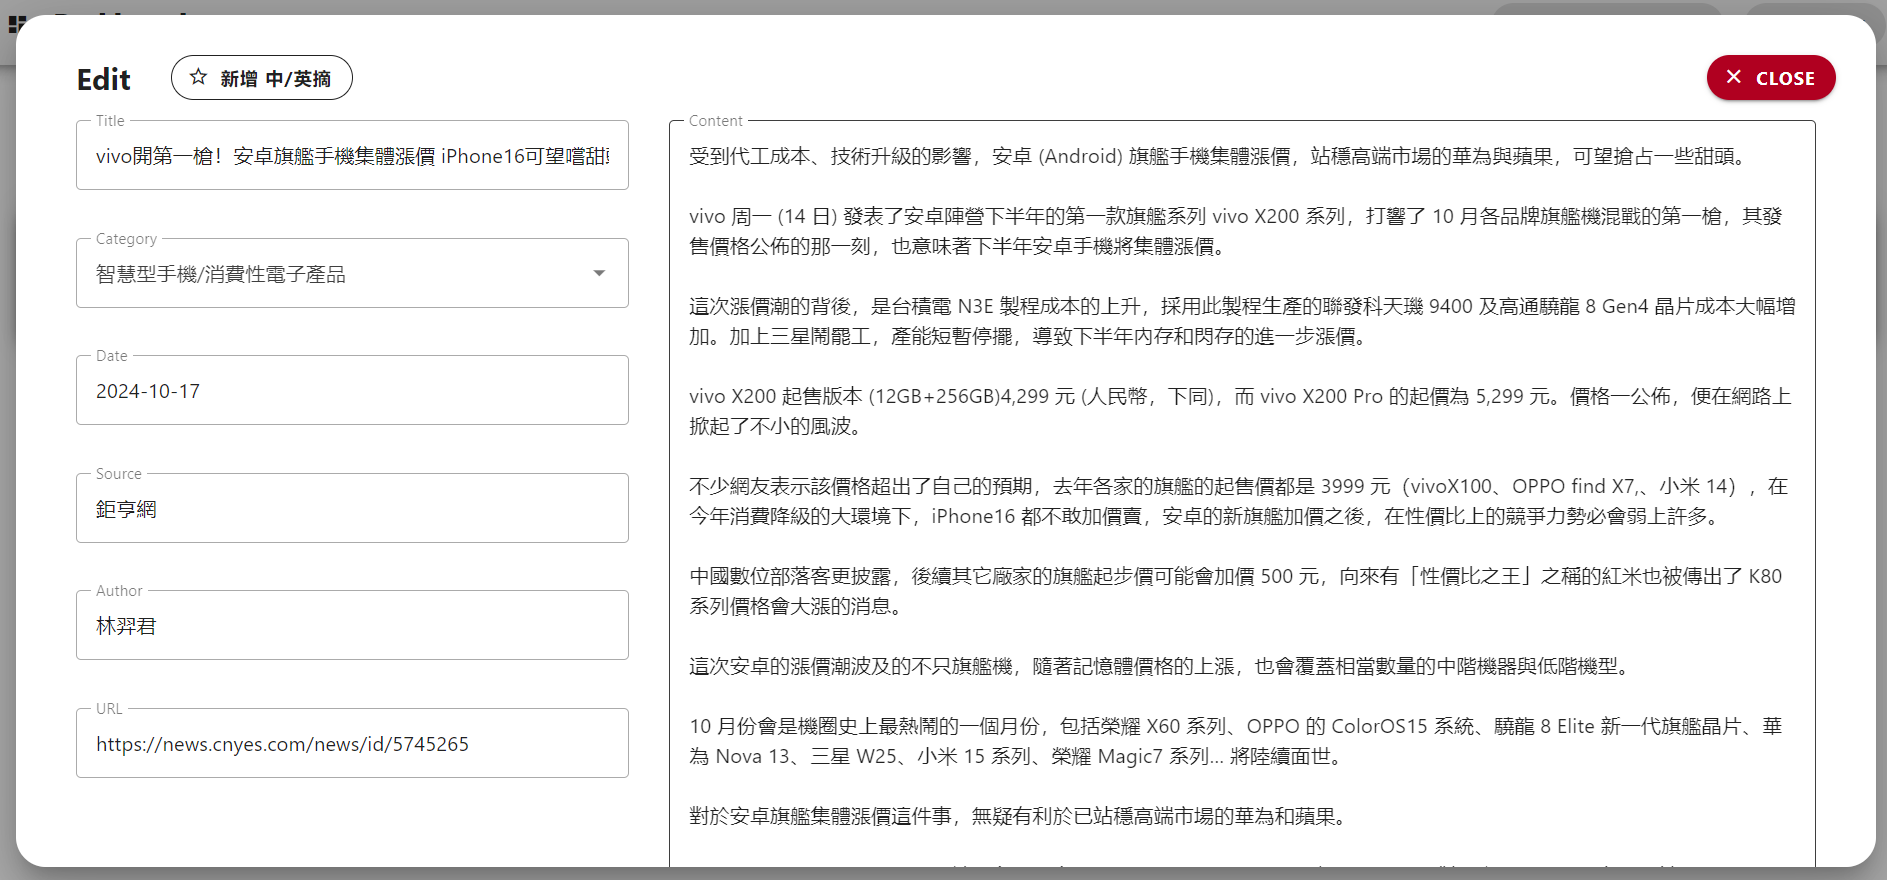
In many cases, AutoDMS will make mistakes, and you'll want to correct them. Click the blue "Edit" button in the middle, you should see the dialog pop up.
Step 4: Edit!
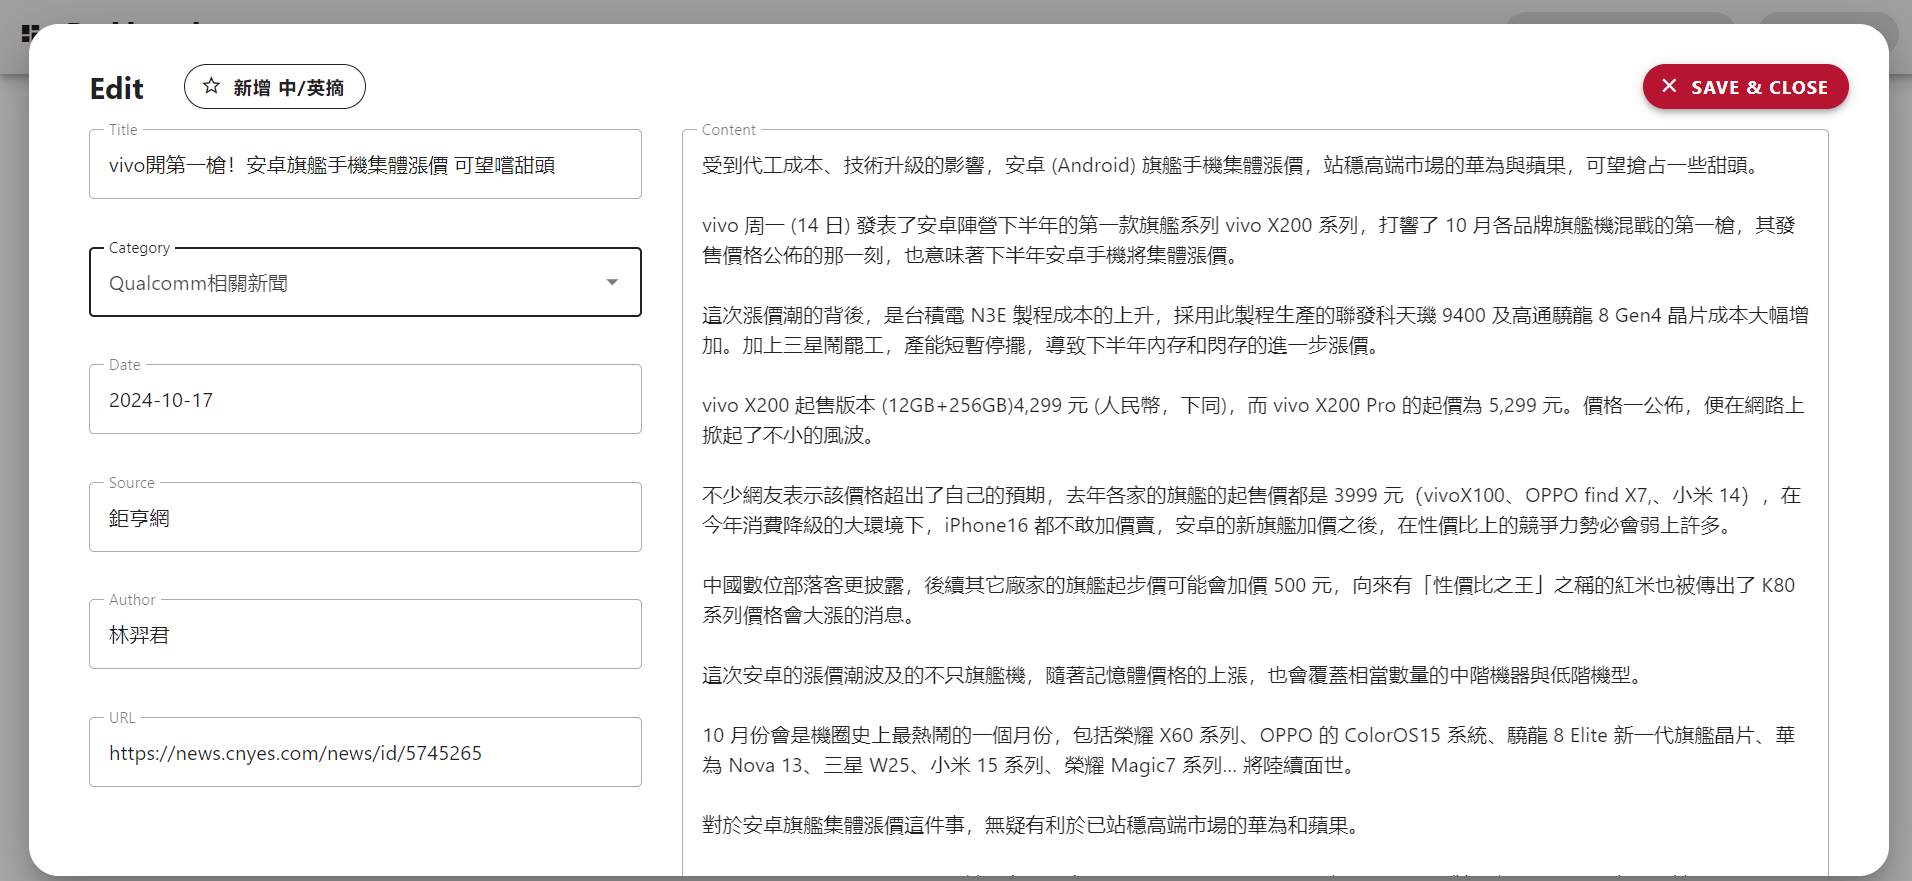
Before editing, take a note at the red "Close "button on the top right.
In the Edit dialog, you can change anything, title, date, source, author, category, content, in this case let's edit the title.
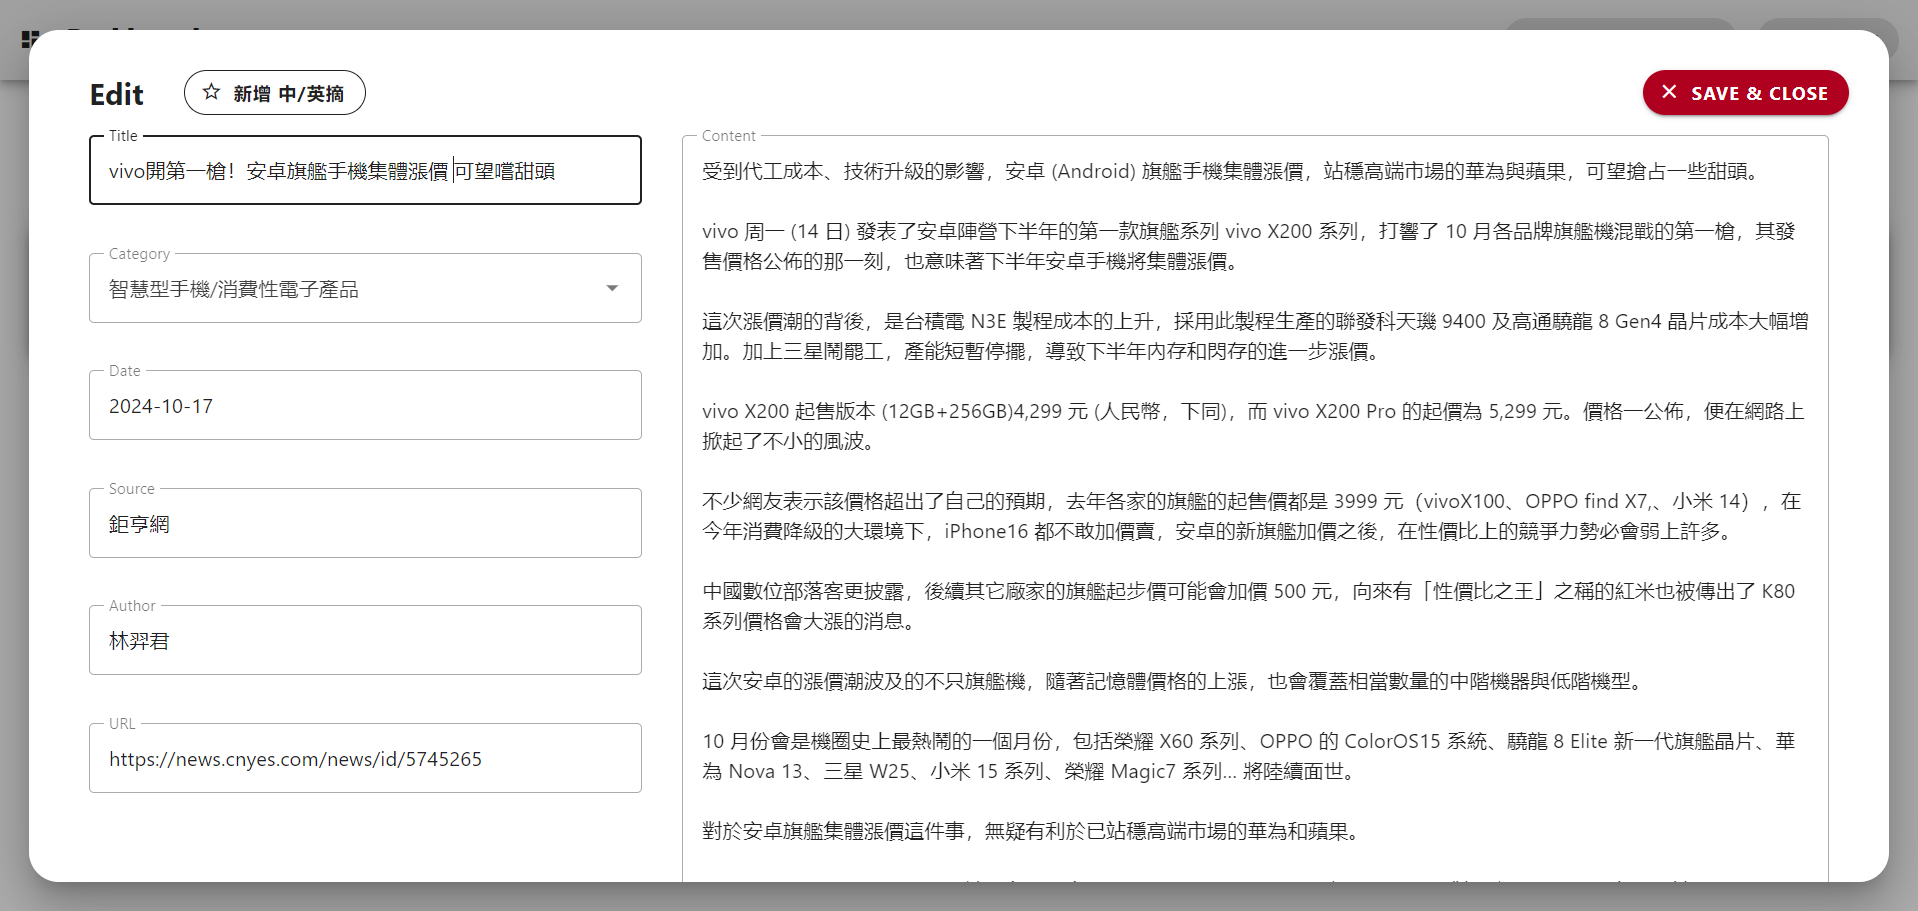
Try deleting something from the title, in this example I removed the text "iPhone 16", you should see the red "Close" button turn into a "Save & Close" button.
That means whenever you make a change, you must click that button to save changes. For you convenience, you cannot close this dialog without clicking that button lolll.
Now please, click "Save & Close" to...save and close the dialog. You should see your edit in the dashboard.
Save...for all!
As I mentioned in Installation, all users of AutoDMS extension is basically editing the same DMS document. Changes here will reflect on the dashboards of all the other users of DMS. This is intended!

Step 5: Edit Category
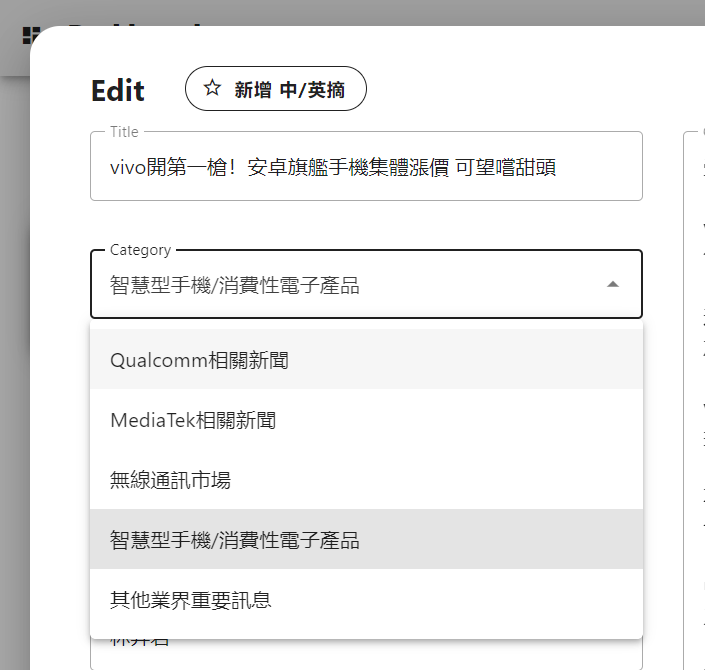
Changing the category might look a bit different.
Try Step 4 again but change the category to something else. In this example I changed it to "Qualcomm".
Use category switcher to check if the category change is successful

Step 6: Change Sequence of Articles
A common thing in DMS is changing the sequence of the articles, so let's try that now.
For now we only have 1 article in this example. Add a second link using Step 1
Using Step 5, change whatever category it's in to the category of our first link. (In this example I changed the first link back to phone)
You will then see the numbers 1 and 2 on the bottom left of each card, with "Move Up" and "Move Down" buttons on either side. The first "Move Up" button is greyed out, the second "Move Down" button is greyed out.
You use these "Move Up" and "Move Down" buttons to move news articles up and down.
Try moving our second article up by clicking the "Move Up" button, it should move up a spot, and our first article will move down.


Step 7: Delete (but don't do it right now)
DON'T PRESS ANYTHING! Just know that the red "Delete" button can delete that particular article. There are no confirmation dialogs (might add it in later versions), so please be careful!
In this example, we DO NOT delete anything. Move on to next step.
Step 8: 中摘/英翻
Let's say that the ETtoday article in this example is the one selected for summarization and translation today, just go ahead and click the blue Edit button.
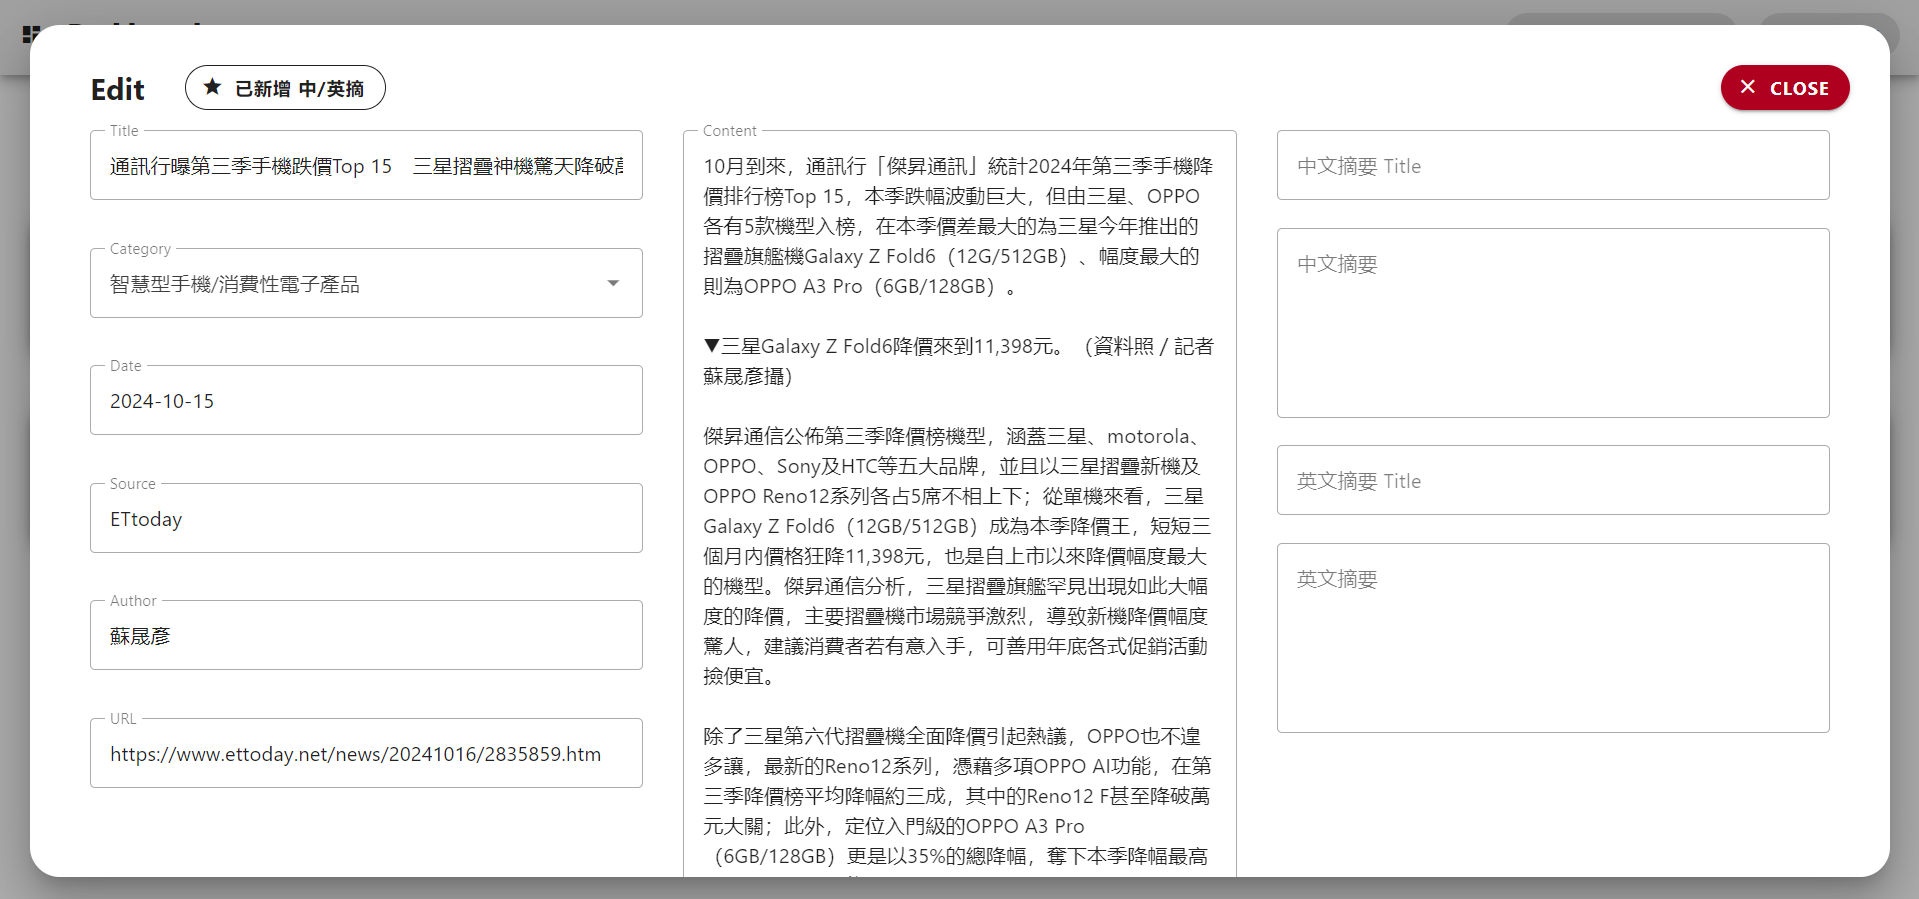
If you look at the top left, you will find a button named "新增 中/英摘" (yes I know it's a typo), click it.
Nothing will happen...for now. This is a bug, unfortunately I haven't been able to solve this yet.
However, if you click the top right red Close button, and click the blue Edit button again, you will see 4 additional input fields.
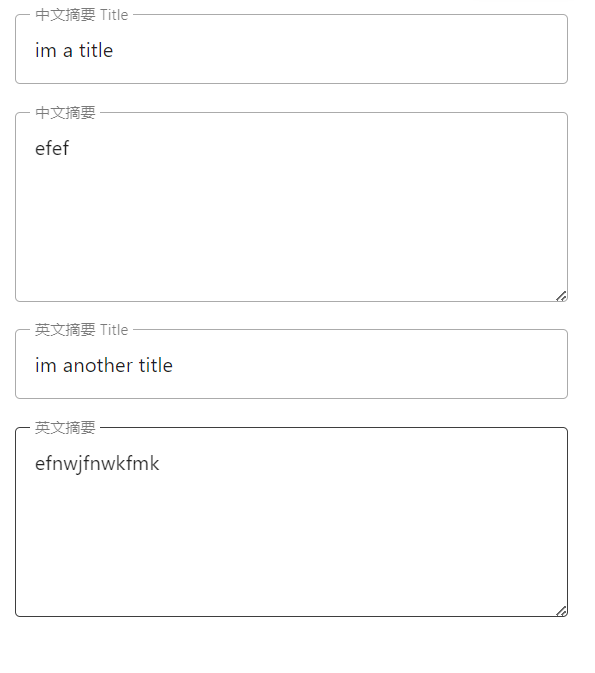
For this example, add anything you like in all those fields. In production, add the actual stuff.
Sequence of 中摘/英翻
Unfortunately, I haven't coded the ability to set the sequence of multiple 中摘/英翻 like we do for normal articles at Step 6. You will have to double check after export.

Step 9: Export
Simple. It's the Export button on the top right of the entire dashboard
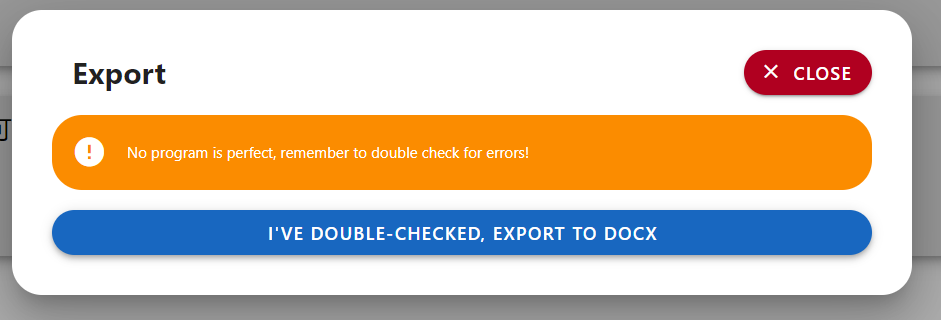
Click it and you will be presented with a dialog box asking you to double check. DO THAT!
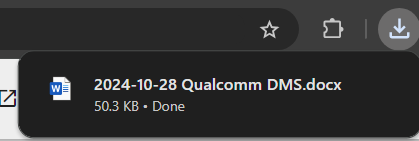
Aaaaaaand you're done. (Well except the "check 中摘/英翻" part in Step 8)

